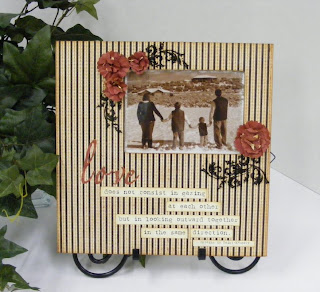
To cover a wooden 12x12 frame, brush Mod Podge onto the surface and carefully lay a sheet of patterned paper over the top. (You will have to work quickly...Mod Podge dries fast)! Smooth out any bubbles. Flip the frame over so you are looking at the back and use a craft knife to cut the paper away from the photo opening. Embellish with stickers, flowers, ribbons, or anything else you would like.
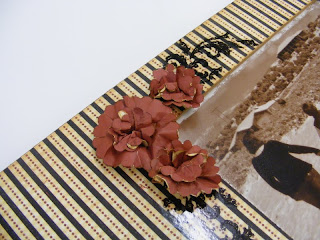 To create the paper flowers, cut various sizes of circles using a die cut machine or paper punches. Cut around each circle with decorative scissors. (We also have circle punches with scalloped edges). Ink the edges with a warm brown color (we like using "Vintage Photo Distress Ink by Tim Holtz). Lightly spritz each circle with water. Crinkle them up and shape them to form a 3-dimensional layer. Once dry, layer two or three circles and attach them together with glue dots or a decorative brad to create a lovely, one-of-a-kind flower.
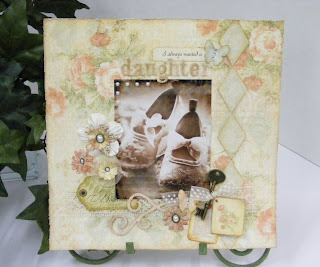
This layout was created using the "Baby 2 Bride" collection. Since the white velvet stickers didn't show up on the page, I altered the color of them with some chalks to better match the layout.
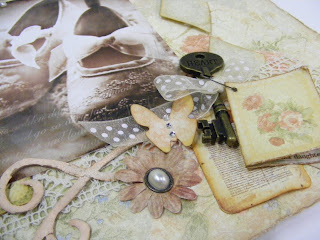 Incorporate hidden journaling into a cluster of elements to create a unique photo corner. The metal key by Tim Holtz really adds to the vintage feel of the layout as well as the crackle paint used to alter the chipboard flourish.
 Create a simple flower by gathering a bit of sheer ribbon and topping it with a punched circle and a pretty pearl brad.
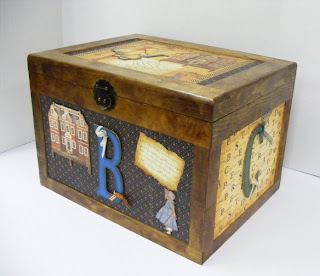
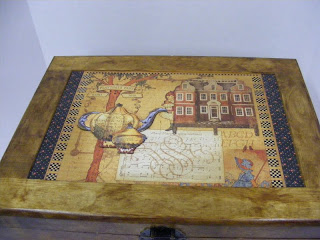
We have a variety of finished and unfinished trunks which you can alter for a unique look. Just use patterned papers and cut-outs, chipboard letters, and bits of ribbon to re-create this darling child's trunk.
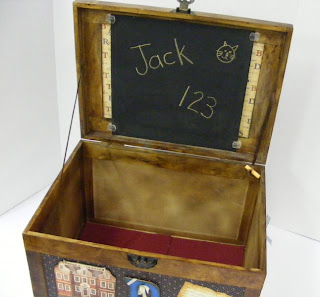
You can attach a small chalkboard to the inside of the lid. Tie a small piece of chalk to a ribbon that hangs next to the chalkboard. You could also choose to line the bottom with some felt.
Have fun and get creative! Check out the gallery at Graphic 45 for more inspiring ideas!

No comments:
Post a Comment